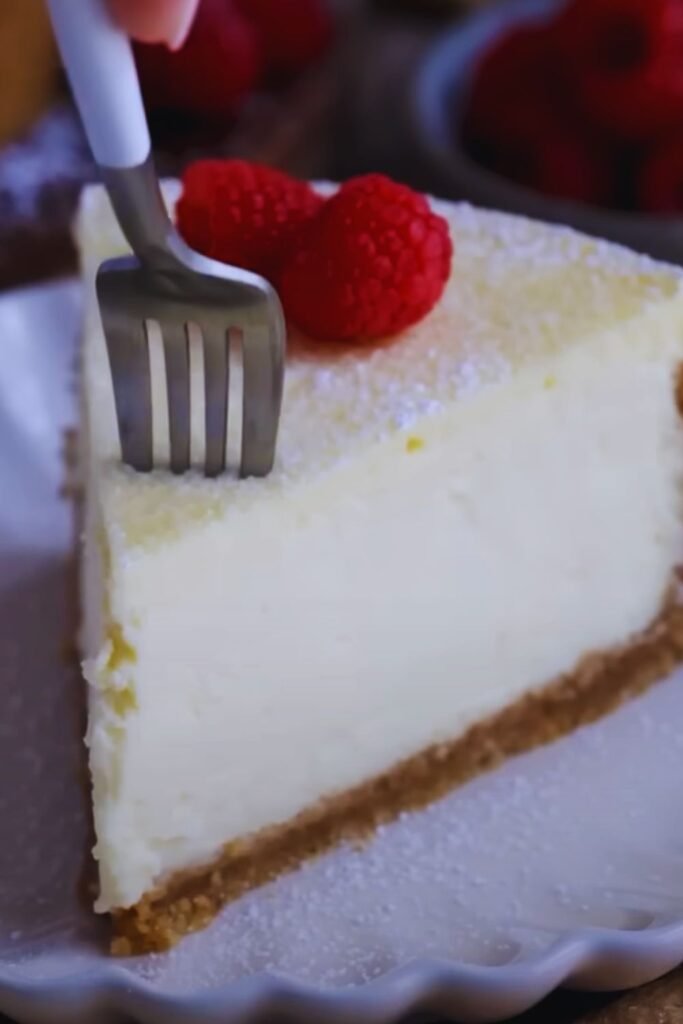
There’s something magical about a perfectly executed New York cheesecake. The kind that makes time stand still with each velvety bite. After years of perfecting this recipe in my home kitchen, I’m excited to share my foolproof method for creating the most luxurious, crack-free cheesecake you’ve ever tasted.
What Makes New York Cheesecake Special?
Unlike its lighter Italian or Japanese cousins, New York cheesecake proudly embraces its dense, rich nature. The secret lies in the precise balance of premium cream cheese, fresh eggs, and a touch of sour cream that creates that signature tang we all know and love.
Essential Ingredients
For the Crust:
- 2 cups graham cracker crumbs (about 16 full sheets)
- 1/4 cup granulated sugar
- 1/2 cup unsalted butter, melted
- 1/4 teaspoon fine sea salt
For the Filling:
- 4 (8 oz) packages cream cheese, at room temperature
- 1 1/4 cups granulated sugar
- 4 large eggs, at room temperature
- 1/3 cup heavy cream
- 1/3 cup sour cream
- 1 tablespoon vanilla extract
- 1/4 teaspoon fine sea salt
Kitchen Equipment You’ll Need
- 9-inch springform pan
- Large roasting pan (for water bath)
- Stand mixer or hand mixer
- Measuring cups and spoons
- Rubber spatula
- Heavy-duty aluminum foil
- Fine mesh strainer (for smooth filling)
The Science Behind Perfect Texture
The key to achieving that signature New York cheesecake texture lies in understanding the chemistry at play. Room temperature ingredients aren’t just a suggestion – they’re crucial for proper emulsification. When cream cheese is too cold, it forms tiny lumps that never fully incorporate, leading to a grainy texture.
Temperature Control Chart
| Stage | Temperature | Time | Notes |
|---|---|---|---|
| Ingredients prep | 70°F (21°C) | 2 hours | Set out dairy & eggs |
| Baking start | 350°F (175°C) | 15 minutes | Initial high heat |
| Baking main | 325°F (165°C) | 60-70 minutes | Until slightly wobbly |
| Cooling start | 325°F (165°C) | 1 hour | Oven door cracked |
| Final cooling | Room temp | 2 hours | Before refrigeration |
| Chilling | 40°F (4°C) | 8 hours | Minimum time |
Step-by-Step Instructions
Preparing the Crust
- Preheat your oven to 350°F (175°C). Wrap the outside of a 9-inch springform pan with heavy-duty aluminum foil, making sure it comes up at least 2 inches on all sides.
- In a medium bowl, combine graham cracker crumbs, sugar, and salt. Pour in the melted butter and mix until the mixture resembles wet sand.
- Press the mixture firmly into the bottom and about 2 inches up the sides of the pan. Use a flat-bottomed measuring cup to compact it evenly.
- Bake for 10 minutes until lightly golden. Remove and let cool completely.
Creating the Filling
- Reduce oven temperature to 325°F (165°C).
- In the bowl of a stand mixer fitted with the paddle attachment, beat the cream cheese on medium speed until completely smooth, about 4 minutes.
- Add the sugar gradually and continue beating until the mixture is light and fluffy, about 4 more minutes.
- Add eggs one at a time, beating just until each is incorporated. Scrape down the bowl frequently.
- Add heavy cream, sour cream, vanilla, and salt. Mix on low speed until just combined.
- Pour through a fine-mesh strainer into the prepared crust.

The Water Bath Method
- Place the wrapped cheesecake pan in a large roasting pan.
- Place the roasting pan in the oven and carefully pour hot water into it until it reaches halfway up the sides of the cheesecake pan.
- Bake for 1 hour and 15 minutes, or until the edges are lightly puffed but the center still has a slight wobble.
Cooling Process Chart
| Time | Action | Purpose |
|---|---|---|
| 0-60 min | Leave in oven (turned off) | Gradual temperature decrease |
| 60-180 min | Room temperature rest | Prevent surface cracking |
| 180 min+ | Refrigerate | Set texture completely |
Troubleshooting Common Issues
Surface Cracks
Prevention is better than cure. Common causes include:
- Overmixing the batter
- Baking at too high a temperature
- Sudden temperature changes
- Not using a water bath
Lumpy Batter
To achieve silky smooth perfection:
- Ensure all ingredients are at room temperature
- Beat cream cheese thoroughly before adding other ingredients
- Scrape bowl frequently
- Pass final mixture through a strainer
Storage and Serving
A properly stored cheesecake will keep for up to 5 days in the refrigerator. For optimal flavor and texture:
| Storage Method | Duration | Temperature |
|---|---|---|
| Refrigerator | 5 days | 40°F (4°C) |
| Freezer | 2 months | 0°F (-18°C) |
Serving Suggestions
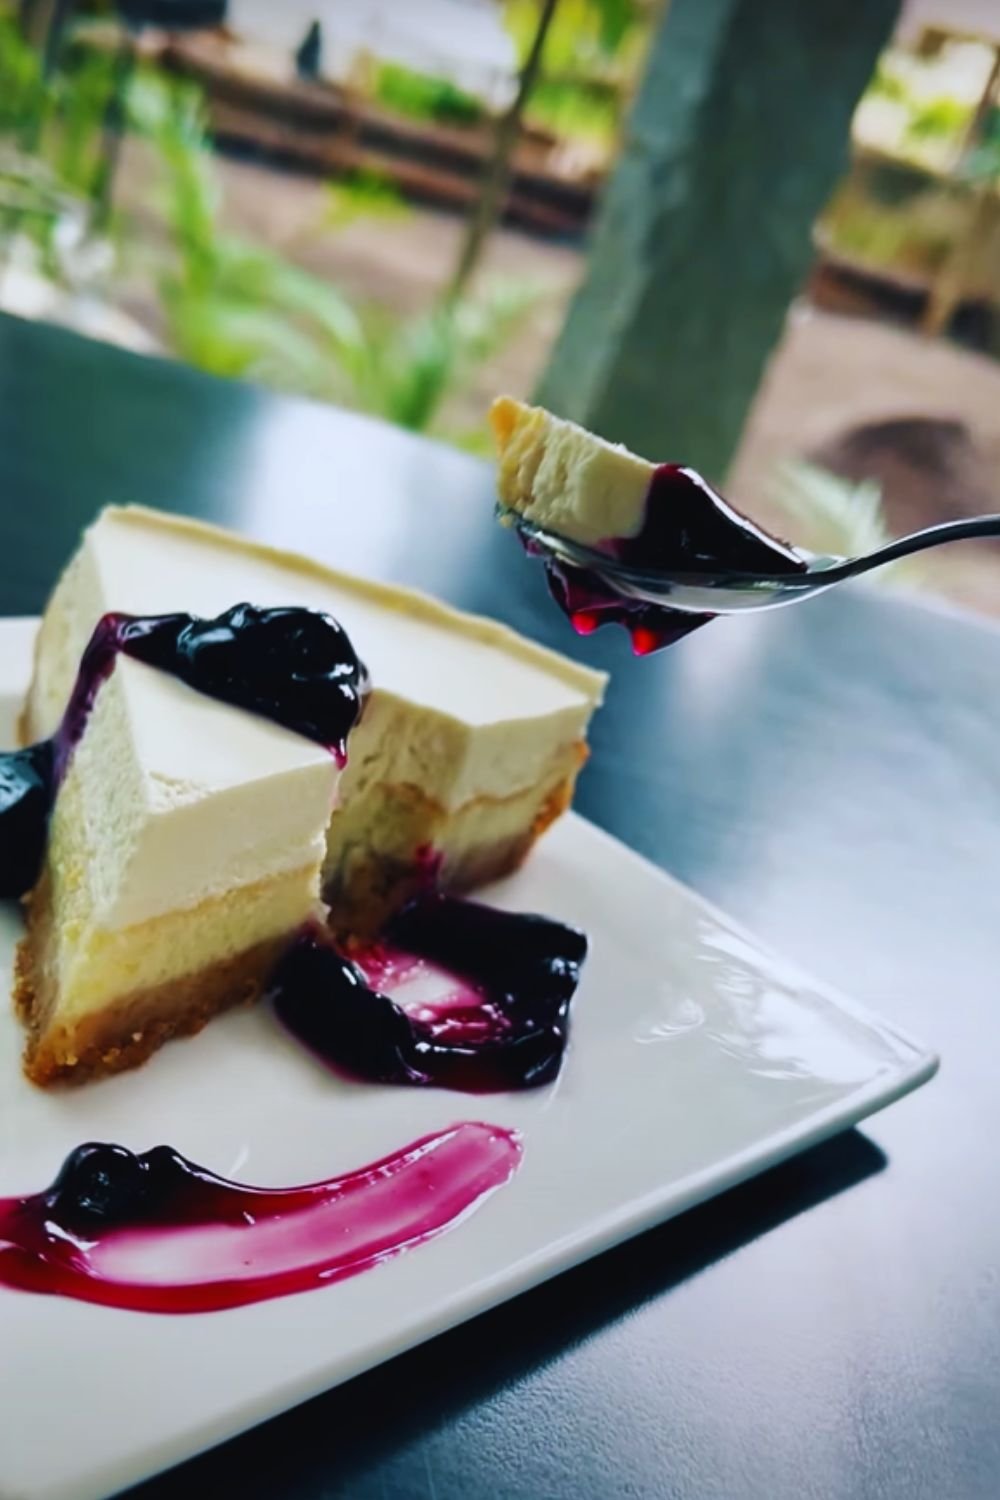
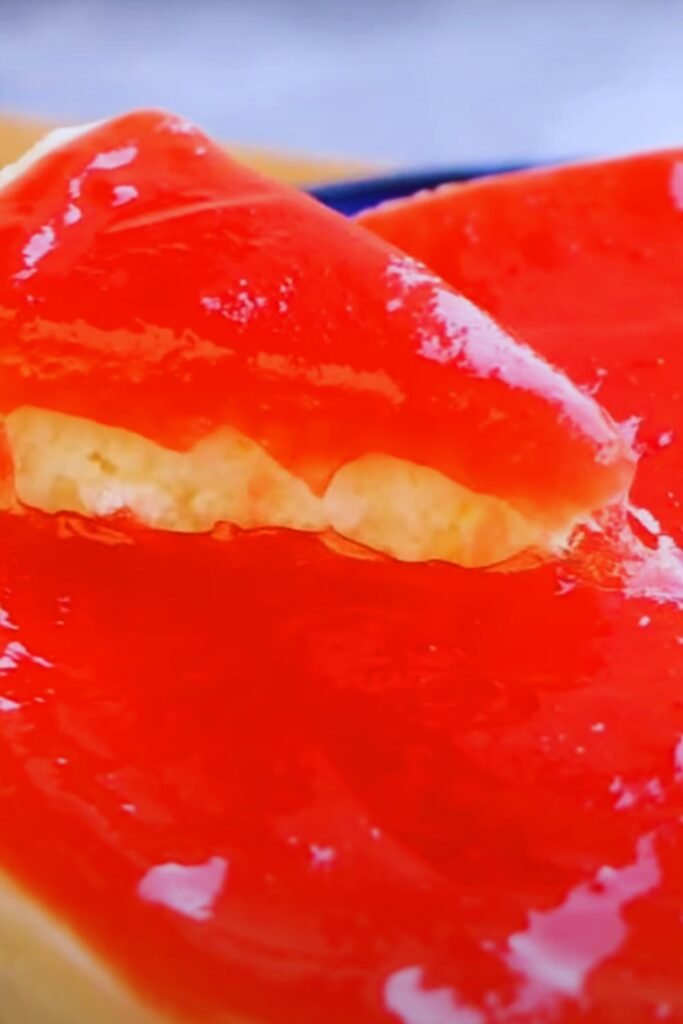
- Fresh seasonal berries
- Homemade whipped cream
- Dark chocolate shavings
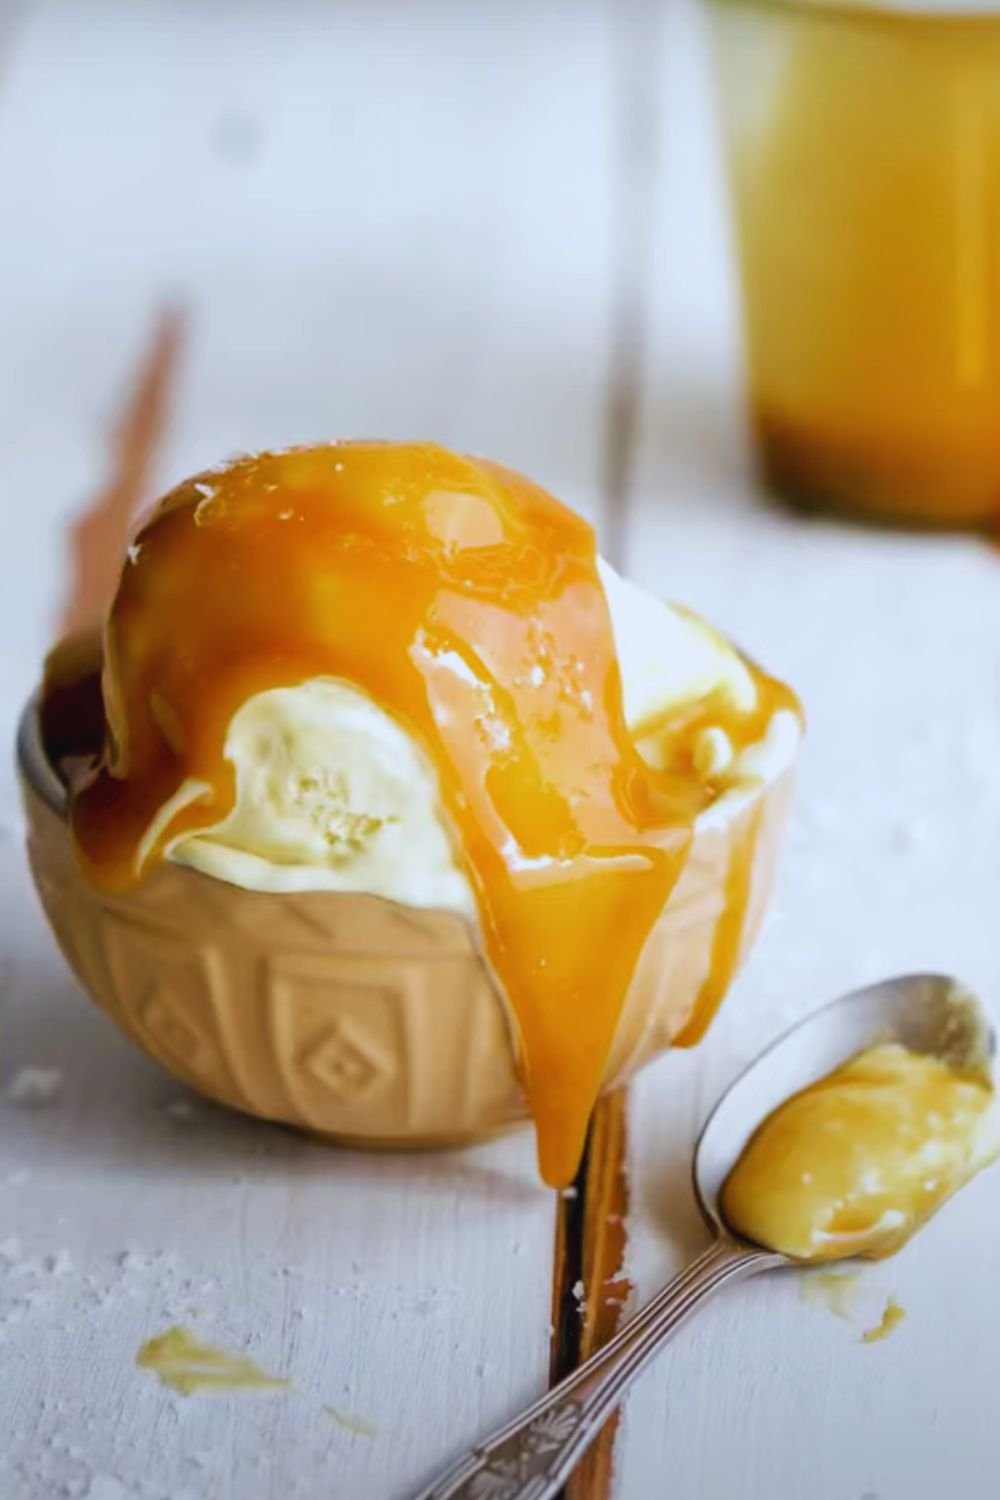
- Caramel sauce
- Fresh mint leaves
Frequently Asked Questions
Q: Why did my cheesecake crack on top?
A: The most common causes are overmixing (which incorporates too much air), baking at too high a temperature, or skipping the water bath. Follow the mixing times precisely and always use a water bath.
Q: Can I make this cheesecake without a water bath?
A: While possible, I don’t recommend it. The water bath provides gentle, even heat and moisture that prevents cracking and ensures perfect texture.
Q: How do I know when my cheesecake is done?
A: The edges should be slightly puffed and light golden, while the center should still have a slight wobble – think Jell-O. It will continue to set as it cools.
Q: Can I freeze this cheesecake?
A: Yes! Wrap it tightly in plastic wrap, then aluminum foil. Freeze for up to 2 months. Thaw overnight in the refrigerator.
Q: Why do ingredients need to be at room temperature?
A: Room temperature ingredients blend together more easily and completely, resulting in a smoother texture and better incorporation of air for the perfect New York cheesecake consistency.
Nutritional Information
| Nutrient | Amount per Slice |
|---|---|
| Calories | 450 |
| Total Fat | 32g |
| Saturated Fat | 18g |
| Cholesterol | 155mg |
| Sodium | 380mg |
| Total Carbs | 35g |
| Protein | 8g |
| Calcium | 100mg |
Remember, patience is the key to a perfect New York cheesecake. Take your time with each step, and don’t rush the cooling process. Your reward will be a slice of pure cheesecake perfection that rivals any you’ve had in Manhattan’s finest establishments.