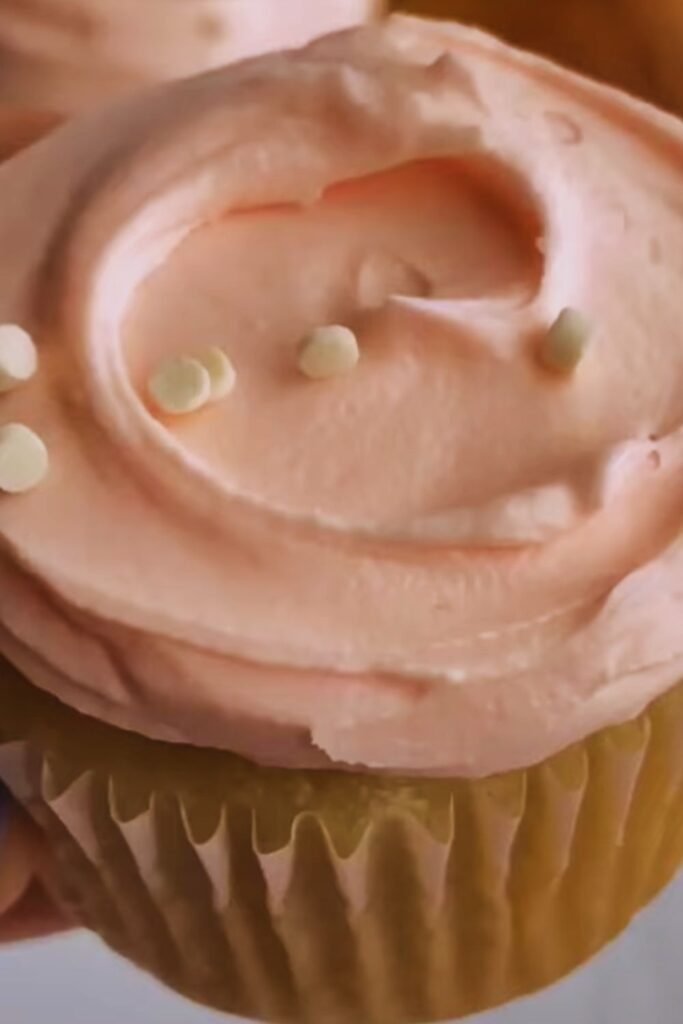
There’s something magical about biting into a perfectly moist vanilla cupcake topped with cloud-like buttercream frosting. After countless attempts to recreate the iconic Magnolia Bakery cupcakes at home, I’ve finally perfected this copycat recipe that captures their signature taste and texture. Today, I’m excited to share my tested recipe that brings that famous bakery experience right to your kitchen.
The Secret Behind These Iconic Cupcakes
What makes these cupcakes special isn’t just their taste – it’s the specific techniques and ingredient ratios that create that distinctive texture and flavor. The key lies in using room temperature ingredients, properly creaming the butter and sugar, and following the signature swirl frosting technique that makes them instantly recognizable.
Kitchen Equipment You’ll Need
- Stand mixer or hand mixer
- 2 12-cup muffin tins
- Paper cupcake liners
- Large mixing bowls
- Measuring cups and spoons
- Rubber spatula
- Wire cooling rack
- Large piping bag
- Wilton 1M piping tip
- Kitchen scale (recommended)

Ingredients
For the Vanilla Cupcakes:
| Ingredient | Amount | Notes |
|---|---|---|
| All-purpose flour | 3 cups (375g) | Sifted |
| Baking powder | 1¾ teaspoons | Fresh, not expired |
| Salt | ¾ teaspoon | Fine sea salt |
| Unsalted butter | 1 cup (227g) | Room temperature |
| Granulated sugar | 2 cups (400g) | |
| Large eggs | 4 | Room temperature |
| Pure vanilla extract | 2 teaspoons | High-quality |
| Whole milk | 1¼ cups (300ml) | Room temperature |
For the Vanilla Buttercream:
| Ingredient | Amount | Notes |
|---|---|---|
| Unsalted butter | 2 cups (454g) | Room temperature |
| Powdered sugar | 8 cups (960g) | Sifted |
| Pure vanilla extract | 2 teaspoons | High-quality |
| Heavy cream | 4-6 tablespoons | Room temperature |
| Salt | ¼ teaspoon | Fine sea salt |
Step-by-Step Instructions
Making the Cupcakes:
- Preheat your oven to 350°F (175°C). Line two 12-cup muffin tins with paper liners.
- In a medium bowl, whisk together the sifted flour, baking powder, and salt. Set aside.
- In the bowl of a stand mixer fitted with the paddle attachment, cream the butter on medium speed until smooth and creamy (about 2 minutes).
- Gradually add the sugar and beat until light and fluffy (5-7 minutes). Don’t rush this step – it’s crucial for achieving the perfect texture.
- Add eggs one at a time, beating well after each addition and scraping down the sides of the bowl as needed.
- Mix in the vanilla extract.
- Gradually add the dry ingredients in three parts, alternating with the milk, beginning and ending with the flour mixture. Mix until just combined after each addition.
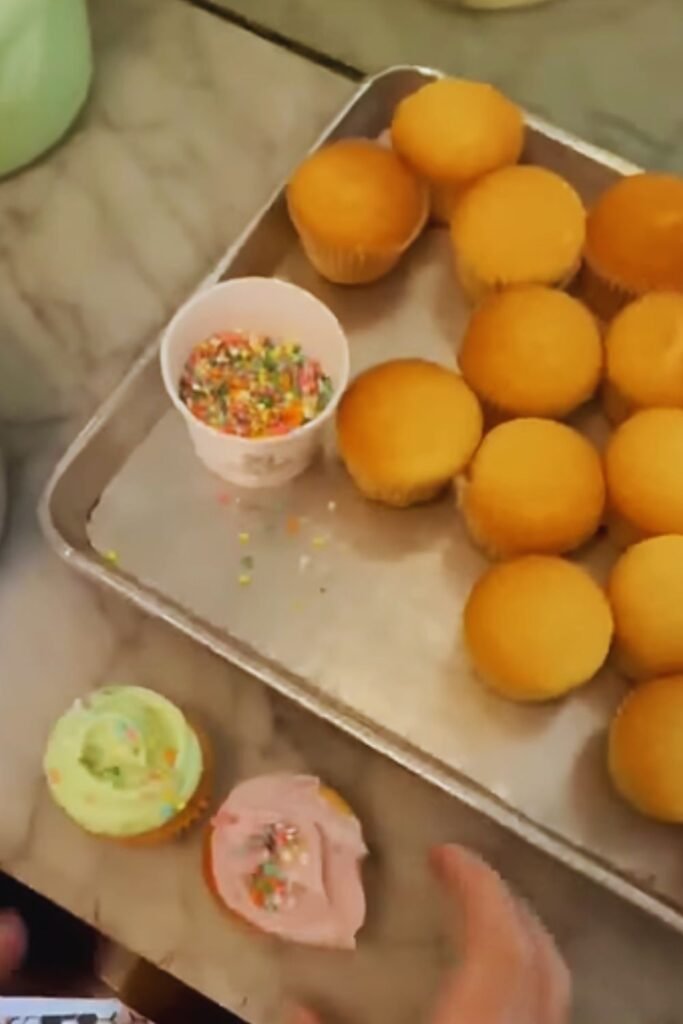
- Fill cupcake liners ⅔ full using an ice cream scoop or ¼ cup measure.
- Bake for 20-22 minutes, or until a toothpick inserted into the center comes out clean.
- Let cool in pans for 5 minutes, then transfer to a wire rack to cool completely.
Making the Buttercream:
- In a stand mixer fitted with the paddle attachment, beat the butter on medium speed until creamy (about 2 minutes).
- Gradually add the sifted powdered sugar, one cup at a time, mixing well after each addition.
- Add vanilla extract and salt.
- Add heavy cream one tablespoon at a time until you reach your desired consistency.
- Beat on medium-high speed for 5-7 minutes until light and fluffy.
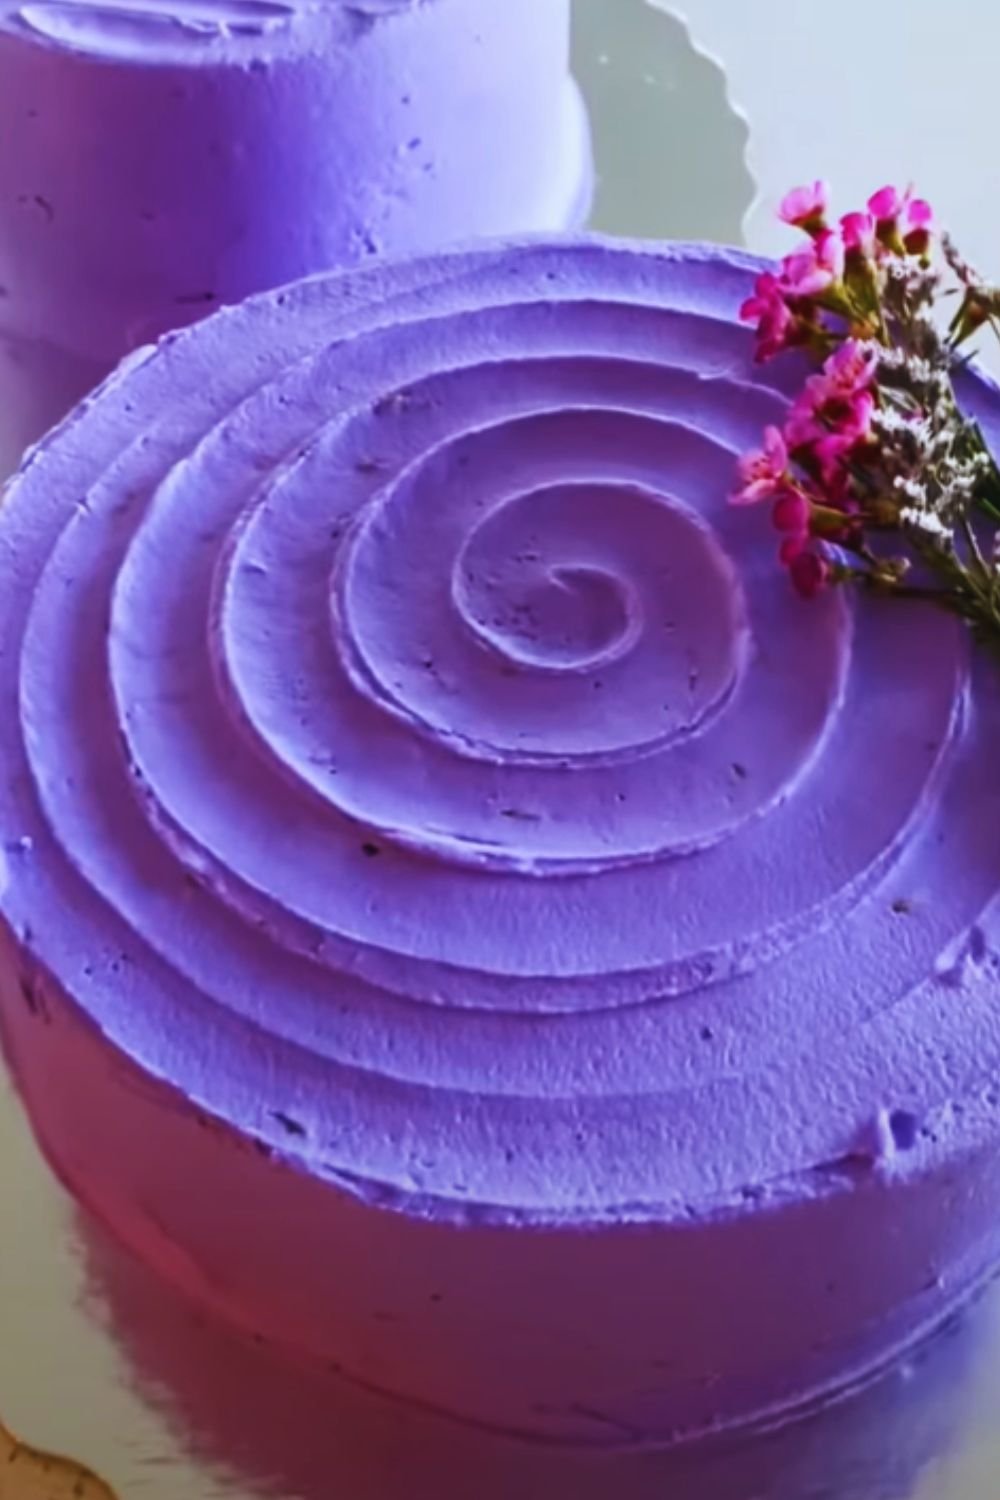
The Signature Swirl:
- Fill a large piping bag fitted with a Wilton 1M tip with buttercream.
- Starting from the outer edge of the cupcake, pipe in a spiral motion moving inward.
- Apply consistent pressure for an even swirl.
- End in the center with a slight release of pressure and pull up.
Pro Tips for Perfect Results
- All refrigerated ingredients must be at room temperature (65-70°F).
- Don’t overmix the batter after adding flour to avoid tough cupcakes.
- Rotate pans halfway through baking for even results.
- Cool cupcakes completely before frosting.
- Store buttercream at room temperature while working.
Storage and Make-Ahead Instructions
| Storage Method | Duration | Notes |
|---|---|---|
| Room Temperature | 2-3 days | In airtight container |
| Refrigerator | Up to 1 week | Bring to room temp before serving |
| Freezer (unfrosted) | Up to 3 months | Wrap individually in plastic |
| Freezer (frosting) | Up to 3 months | Store in airtight container |
Serving Suggestions
- Garnish with colorful sprinkles
- Add fresh berries on top
- Serve with hot coffee or milk
- Present on a tiered cake stand for parties
- Add edible flowers for special occasions
Troubleshooting Common Issues
| Problem | Possible Cause | Solution |
|---|---|---|
| Cupcakes sink in middle | Oven door opened too soon | Wait until last 5 minutes to check |
| Dome tops | Too much batter in liner | Fill only ⅔ full |
| Tough texture | Overmixed batter | Mix just until combined |
| Buttercream too soft | Too much liquid added | Add more powdered sugar |
Frequently Asked Questions
Q: Can I halve this recipe?
A: Yes, you can easily halve all ingredients to make 12 cupcakes instead of 24.
Q: Why do ingredients need to be room temperature?
A: Room temperature ingredients create a smooth, evenly mixed batter that results in tender, well-risen cupcakes.
Q: Can I make these ahead for a party?
A: Yes! Bake cupcakes up to 2 days ahead and store unfrosted in an airtight container. Frost the day of serving for best results.
Q: How do I achieve the perfect swirl?
A: Practice on parchment paper first. The key is consistent pressure and a steady hand while piping.
Q: Can I use salted butter?
A: I recommend unsalted butter to control the salt content. If using salted butter, omit the additional salt in the recipe.
Q: My buttercream is too sweet. What can I do?
A: Add ¼ teaspoon of salt and 1 teaspoon of lemon juice to cut the sweetness without affecting texture.
Recipe Variations
- Chocolate version: Replace ½ cup flour with cocoa powder
- Lemon: Add 2 tablespoons lemon zest and replace vanilla with lemon extract
- Funfetti: Fold in ½ cup rainbow sprinkles to batter
- Pink champagne: Replace milk with champagne and add pink food coloring
- Marble: Divide batter and add cocoa to half, swirl together in liners
This recipe yields 24 perfect cupcakes that will rival any professional bakery version. Remember, practice makes perfect, especially when it comes to the signature swirl. Happy baking!