Have you ever wondered how Japanese restaurants achieve that impossibly light and crispy tempura coating? After years of perfecting this technique, I’m excited to share my fool-proof method for creating restaurant-quality chicken tempura at home. This detailed guide will walk you through every step to achieve that coveted crunch while keeping the chicken perfectly tender inside.
The Magic Behind Perfect Tempura
The secret to achieving that characteristic tempura texture lies in understanding the science behind the batter and frying process. Unlike other fried chicken recipes, tempura relies on a delicate balance of ingredients and precise temperature control. Through my extensive testing, I’ve discovered that the key lies in using ice-cold water and handling the batter with a gentle touch.
Essential Equipment
Before we dive into the recipe, let’s ensure you have all the necessary tools:
- Deep heavy-bottomed pot or tempura pot
- Kitchen thermometer
- Spider strainer or slotted spoon
- Paper towels
- Large mixing bowls
- Chopsticks for mixing
- Wire rack
- Sheet pan
Ingredients for the Perfect Tempura
For the Chicken:
- 1.5 lbs (680g) chicken breast, cut into 1-inch strips
- 1 tsp salt
- ½ tsp white pepper
- 1 tbsp sake (optional but recommended)
For the Tempura Batter:
- 2 cups (240g) all-purpose flour
- 1 cup (120g) cornstarch
- 2 large egg yolks
- 2¼ cups (530ml) ice-cold water
- ¼ tsp baking soda
- ½ tsp salt
For Frying:
- 4 cups (960ml) neutral oil (such as canola or vegetable oil)
For the Dipping Sauce:
- 1 cup (240ml) dashi stock
- ¼ cup (60ml) soy sauce
- ¼ cup (60ml) mirin
- 1 tbsp grated daikon radish
- 1 tsp grated ginger
The Science of Tempura Batter
What sets tempura apart from other batters is its unique composition and preparation method. The success of your tempura depends on three crucial factors:
- Temperature Control
- Keep all ingredients ice-cold
- Maintain oil temperature between 375-385°F (190-196°C)
- Work quickly to prevent batter from warming
- Minimal Mixing
- Lumps in the batter are good
- Overmixing develops gluten, resulting in heavy coating
- Use chopsticks for gentle combining
- Carbonation
- Baking soda creates tiny bubbles
- Results in lighter, crispier coating
- Activates when batter hits hot oil
Temperature Chart for Perfect Frying
| Oil Temperature | Result | Best Used For |
|---|---|---|
| 365°F (185°C) | Slower cooking, thicker crust | Larger chicken pieces |
| 375°F (190°C) | Ideal balance of cooking and crispiness | Standard size strips |
| 385°F (196°C) | Quick cooking, maximum crispiness | Thin chicken strips |
| Above 390°F (199°C) | Too hot, may burn | Not recommended |
Step-by-Step Preparation
Preparing the Chicken
- Cut chicken breast against the grain into 1-inch strips
- Season with salt, white pepper, and sake
- Let rest for 15 minutes at room temperature
- Pat dry thoroughly with paper towels
Making the Batter
- Combine flour, cornstarch, and baking soda in a bowl
- In a separate bowl, whisk egg yolks with ice-cold water
- Make a well in the dry ingredients
- Pour wet ingredients into the well
- Mix gently with chopsticks until just combined
- Leave lumps in the batter
- Keep bowl over an ice bath while working
Frying Process
- Heat oil to 375°F (190°C)
- Dip chicken pieces in batter one at a time
- Allow excess batter to drip off
- Carefully lower into hot oil
- Fry 4-5 pieces at a time
- Cook for 3-4 minutes until golden
- Drain on wire rack
Troubleshooting Common Issues
| Problem | Cause | Solution |
|---|---|---|
| Greasy coating | Oil too cool | Maintain proper temperature |
| Heavy batter | Overmixing | Mix minimally, accept lumps |
| Soggy results | Overcrowding | Fry in small batches |
| Pale color | Oil too hot | Reduce heat slightly |
| Uneven cooking | Inconsistent size | Cut pieces uniformly |
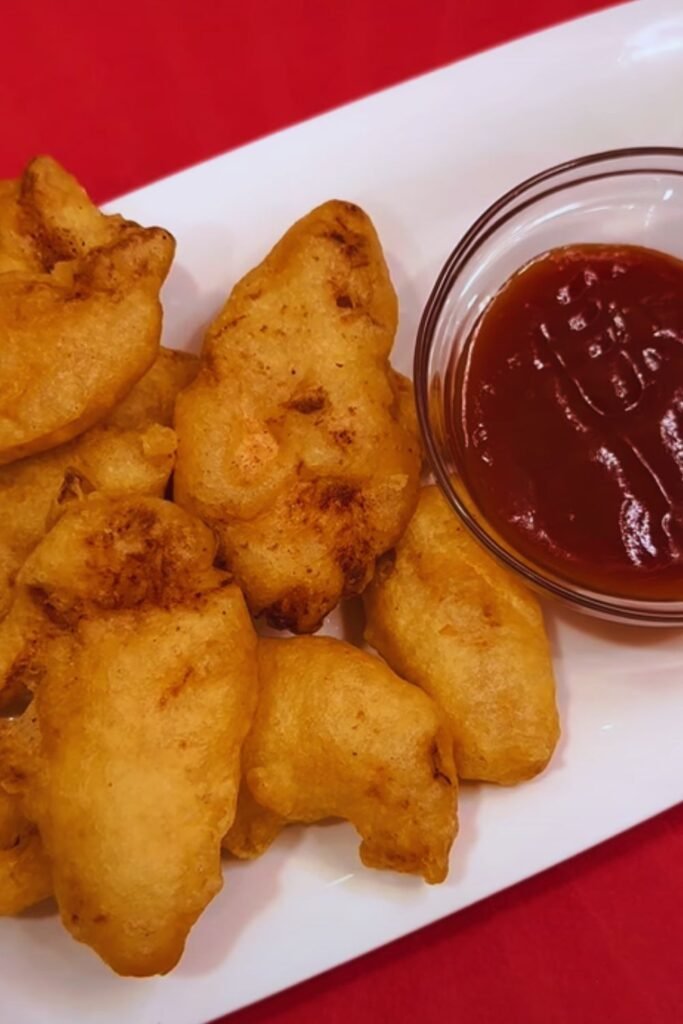
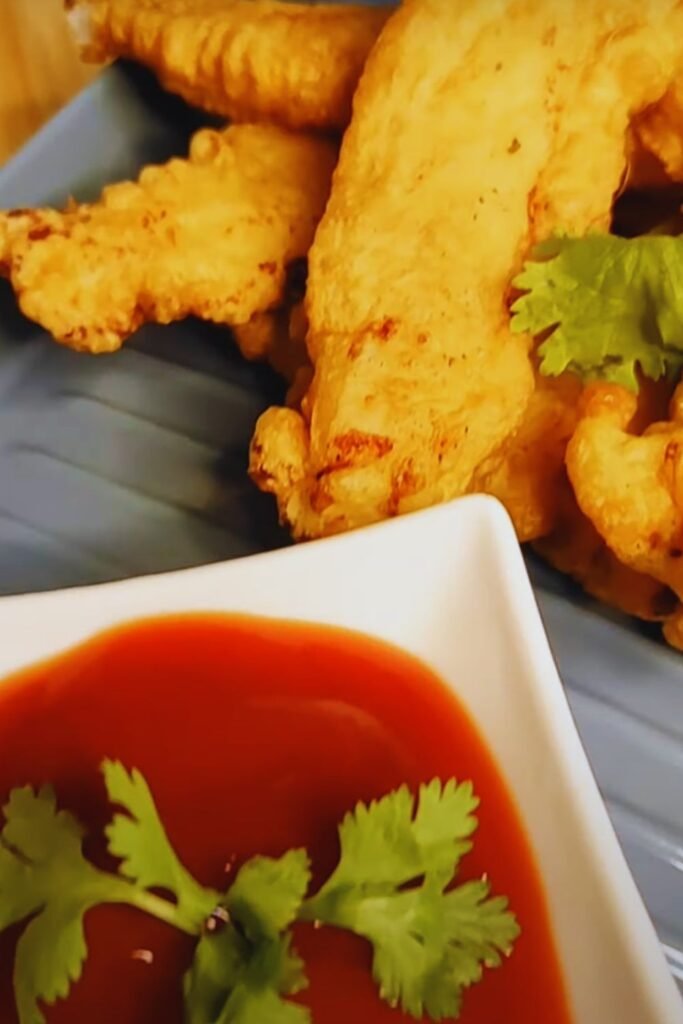
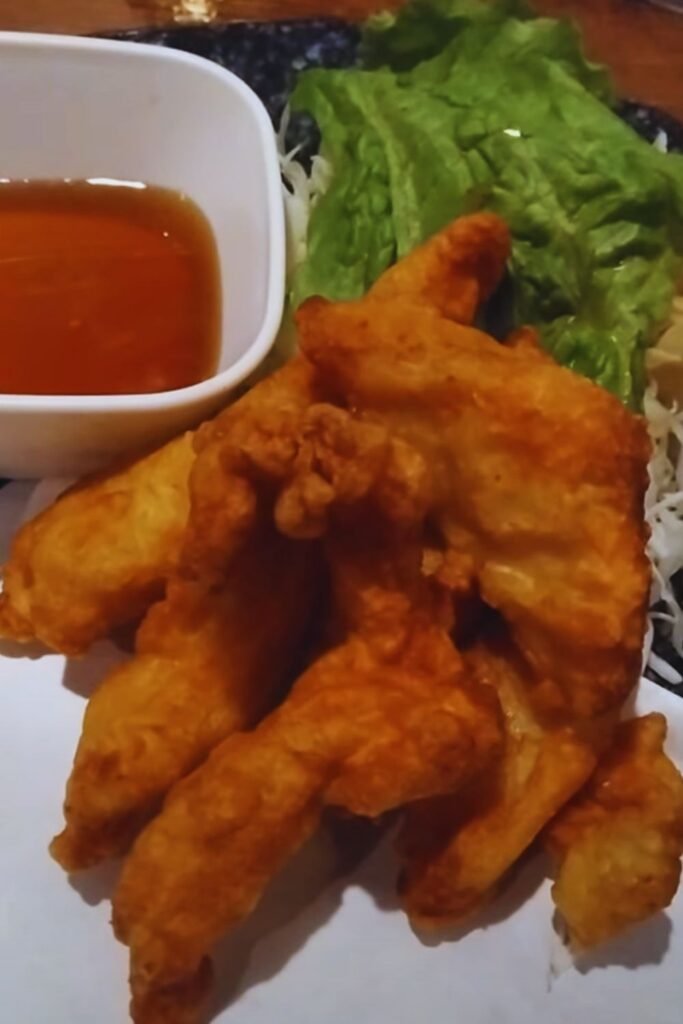
Serving Suggestions
- Serve immediately while hot
- Arrange on a plate lined with paper towels
- Garnish with grated daikon and shiso leaves
- Accompany with tentsuyu dipping sauce
- Include a side of steamed rice
- Add tempura vegetables for variety
Nutritional Information (Per Serving)
| Nutrient | Amount |
|---|---|
| Calories | 320 |
| Protein | 24g |
| Fat | 18g |
| Carbohydrates | 15g |
| Fiber | 1g |
| Sodium | 580mg |
Storage and Reheating
While tempura is best enjoyed fresh, you can store leftovers:
- Refrigerate for up to 2 days
- Reheat in a 375°F (190°C) oven for 3-5 minutes
- Avoid microwave reheating
- Store sauce separately
Common Questions and Answers
Q: Why isn’t my tempura as light and crispy as restaurant versions?
A: The key is using ice-cold water and mixing the batter minimally. Overmixing develops gluten, resulting in a heavy coating. Also, ensure your oil temperature stays consistent.
Q: Can I prepare the batter in advance?
A: No, tempura batter should be made just before frying. The reaction between the cold liquid and leavening agents is crucial for achieving the perfect texture.
Q: Why does my tempura become soggy quickly?
A: This usually happens when the oil temperature is too low or when the fried pieces are stacked. Use a wire rack for draining and serve immediately.
Q: Can I use chicken thighs instead of breast meat?
A: Yes, chicken thighs work well and often stay more tender. Just ensure they’re cut to a consistent thickness for even cooking.
Q: How can I keep the oil at the right temperature?
A: Use a heavy-bottomed pot and a reliable thermometer. Don’t overcrowd the pot, and allow the oil to return to temperature between batches.
Health and Safety Tips
- Use a deep-frying thermometer
- Never leave hot oil unattended
- Keep a fire extinguisher nearby
- Don’t let oil smoke
- Dispose of used oil properly
Remember, perfect tempura comes with practice. Don’t be discouraged if your first attempt isn’t restaurant-quality – focus on maintaining temperature control and handling the batter gently. With these techniques and tips, you’ll be making fantastic chicken tempura in no time.