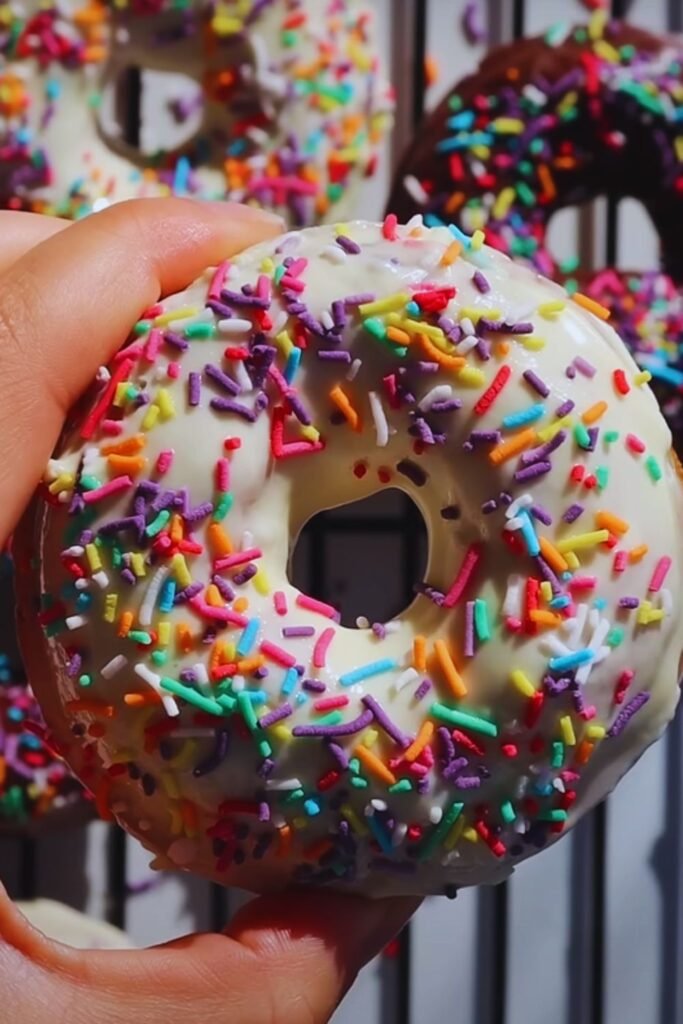
There’s something magical about biting into a warm, freshly glazed donut that makes all your worries melt away. After years of perfecting my donut-making technique, I’m excited to share my foolproof recipe for creating those irresistible original glazed donuts right in your kitchen. Get ready to experience the joy of watching your family’s faces light up as they taste these pillowy-soft circles of pure bliss.
The Secret Behind Perfect Glazed Donuts
Before we dive into the recipe, let me share some essential tips I’ve learned through countless batches of experimentation. The key to achieving that characteristic donut shop texture lies in the proper handling of the dough and maintaining the right oil temperature during frying.
Essential Equipment You’ll Need
| Equipment | Purpose | Recommended Type |
|---|---|---|
| Stand Mixer | Dough kneading | Heavy-duty with dough hook |
| Rolling Pin | Dough shaping | Wooden or marble |
| Donut Cutter | Shaping donuts | 3.5-inch with center hole |
| Deep Fryer/Pot | Frying | Heavy-bottomed, 6-qt minimum |
| Thermometer | Temperature control | Candy/deep-fry thermometer |
| Cooling Rack | Draining & glazing | Large wire rack |
Key Ingredients Breakdown
| Ingredient | Amount | Notes |
|---|---|---|
| Bread Flour | 4 cups | High protein content for proper structure |
| Active Dry Yeast | 2¼ tsp | Fresh yeast for best results |
| Whole Milk | 1½ cups | Warmed to 110°F |
| Granulated Sugar | ¾ cup | Divided use |
| Salt | 1 tsp | Fine sea salt preferred |
| Eggs | 2 large | Room temperature |
| Unsalted Butter | ¼ cup | Softened |
| Vegetable Oil | 2 quarts | For frying |
The Step-by-Step Process
Dough Preparation
- Begin by activating the yeast:
- Warm the milk to 110°F
- Dissolve 2 tablespoons of sugar in the milk
- Sprinkle yeast over the mixture
- Let stand for 5-10 minutes until foamy
- Meanwhile, in your stand mixer bowl:
- Combine remaining sugar and flour
- Add salt and whisk together
- Create the dough:
- Add eggs to the flour mixture
- Pour in the activated yeast mixture
- Mix with dough hook on medium speed for 3 minutes
- Add softened butter gradually
- Continue mixing for 5-7 minutes until smooth and elastic
Dough Rising & Shaping
The first rise is crucial for developing flavor and texture. Here’s my tried-and-true method:
- First Rise:
- Place dough in a greased bowl
- Cover with plastic wrap
- Let rise in a warm spot for 1-2 hours
- Dough should double in size
- Rolling & Cutting:
- Roll dough to ½-inch thickness
- Cut with donut cutter
- Place on parchment-lined sheets
- Cover loosely with plastic wrap
- Second Rise:
- Let shaped donuts rise for 30-45 minutes
- They should be puffy but not overproofed
The Art of Frying
Temperature control is absolutely essential for perfect donuts. Here’s my method:
| Stage | Temperature | Duration |
|---|---|---|
| Oil Heating | 350°F | Until stable |
| First Side | 350°F | 1-2 minutes |
| Flip | 350°F | Immediate |
| Second Side | 350°F | 1-2 minutes |
| Cooling | Room temp | 5 minutes |
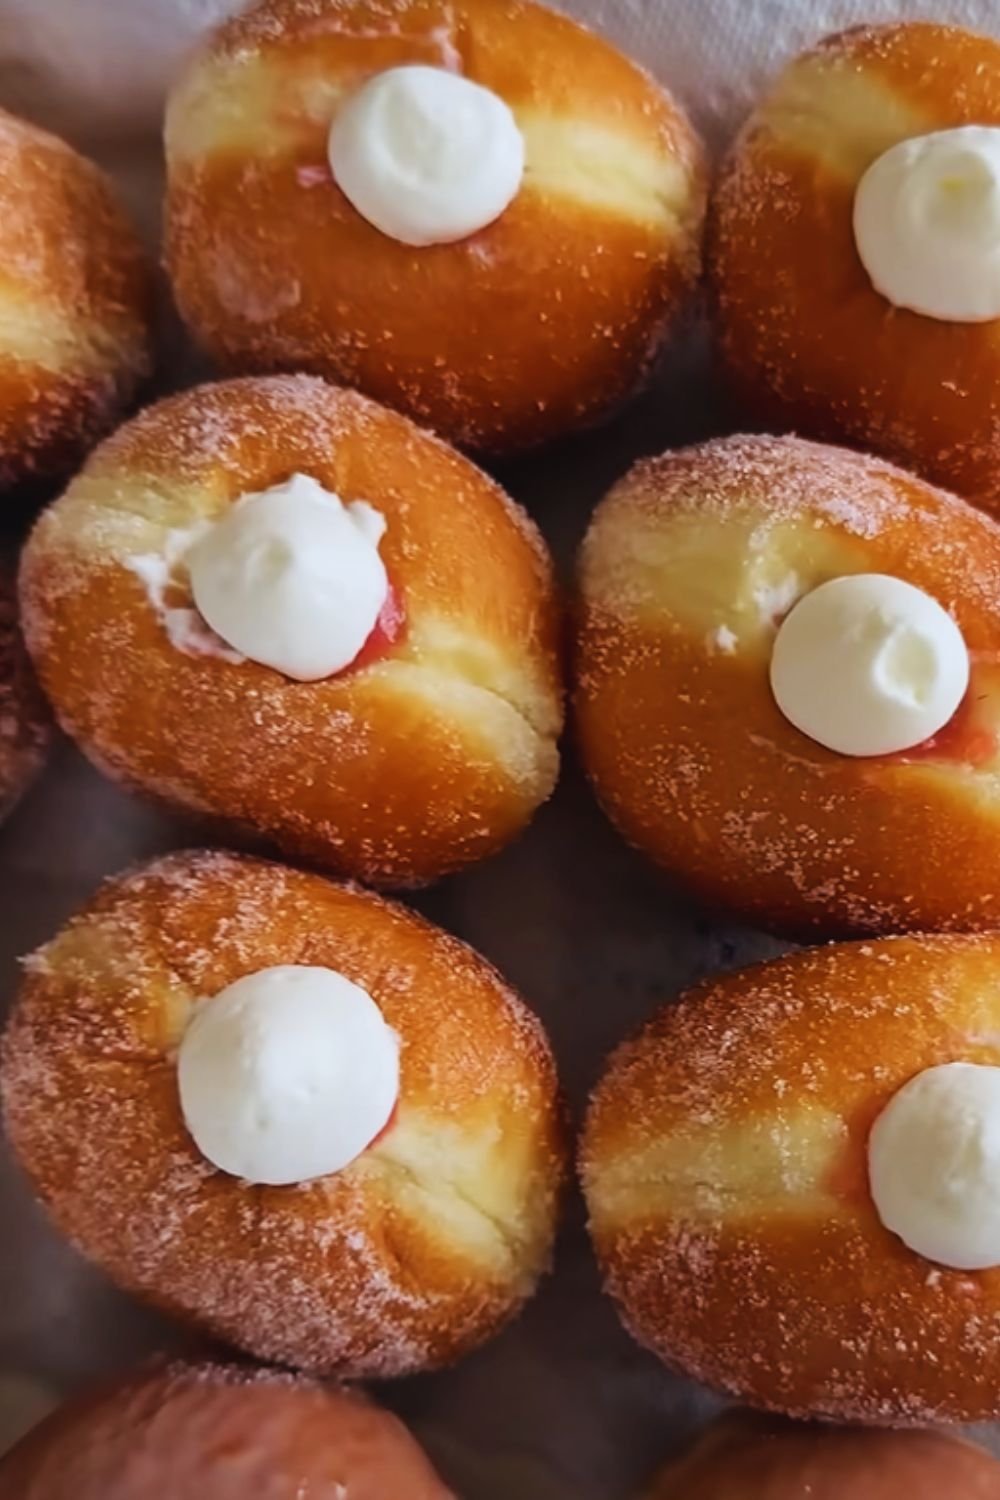
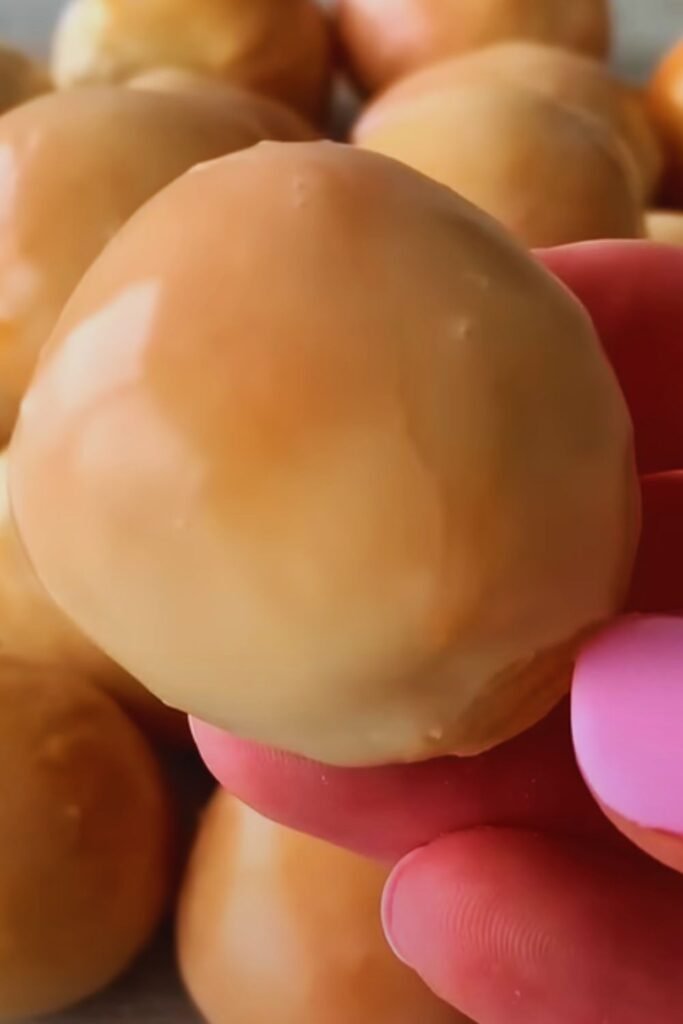
The Perfect Glaze
My signature glaze recipe creates that classic sweet shell that makes these donuts irresistible:
| Ingredient | Amount | Notes |
|---|---|---|
| Powdered Sugar | 4 cups | Sifted |
| Whole Milk | ½ cup | More if needed |
| Vanilla Extract | 1 tsp | Pure |
| Salt | Pinch | Enhances flavor |
Troubleshooting Common Issues
Texture Problems & Solutions
| Issue | Cause | Solution |
|---|---|---|
| Dense Donuts | Underproofed dough | Allow longer rise time |
| Greasy Donuts | Low oil temperature | Maintain 350°F |
| Tough Donuts | Overworked dough | Mix just until smooth |
| Misshapen | Rough handling | Handle gently when frying |
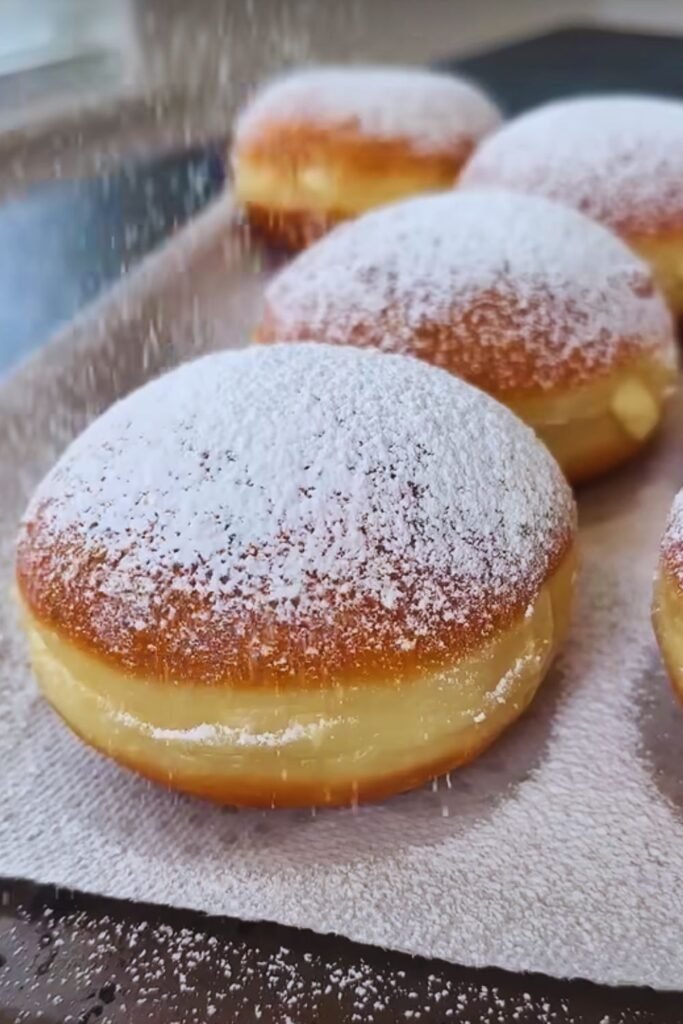
Storage & Serving Suggestions
These donuts are best enjoyed fresh, but here’s how to store them:
- Room Temperature: 1-2 days in an airtight container
- Refrigerator: Not recommended (affects texture)
- Freezer: Up to 1 month, unglazed only
Serving suggestions:
- Fresh morning coffee
- Hot chocolate
- Milk (regular or plant-based)
- Afternoon tea
Frequently Asked Questions
Q: Why didn’t my donuts rise properly?
A: The most common culprit is old yeast or liquid that’s too hot, which kills the yeast. Make sure your milk is around 110°F and your yeast is fresh.
Q: Can I make the dough ahead of time?
A: Yes! You can refrigerate the dough after the first rise for up to 12 hours. Let it come to room temperature before shaping.
Q: Why do my donuts absorb too much oil?
A: Oil temperature is crucial. If it’s too low, the donuts will become greasy. Maintain a steady 350°F and don’t overcrowd the pot.
Q: Can I bake these instead of frying?
A: While you can bake them, the texture won’t be the same. Frying creates that distinctive crispy exterior and fluffy interior that makes these donuts special.
Nutritional Information
| Per Donut | Amount |
|---|---|
| Calories | 285 |
| Total Fat | 12g |
| Carbohydrates | 42g |
| Protein | 4g |
| Sugar | 22g |
| Fiber | 1g |
Remember, these nutritional values are approximate and can vary based on size and specific ingredients used.
Health & Safety Tips
- Oil Safety:
- Never leave hot oil unattended
- Keep a fire extinguisher nearby
- Don’t let oil smoke or overheat
- Food Safety:
- Use fresh ingredients
- Maintain clean workspace
- Check internal temperature (190°F)
Recipe Variations
While this classic glazed version is my favorite, here are some tested variations:
| Variation | Additional Ingredients | Notes |
|---|---|---|
| Cinnamon Sugar | 1 cup sugar + 2 tbsp cinnamon | Skip glaze |
| Chocolate Glaze | 4 oz melted chocolate + basic glaze | Slightly thicker |
| Maple Glaze | Replace vanilla with maple extract | Add maple syrup |
| Powdered | 1 cup powdered sugar | Simple coating |
The beauty of this base recipe is its versatility. Once you’ve mastered the basic technique, you can experiment with different toppings and flavors to create your own signature donuts.
I hope this comprehensive guide helps you create perfect glazed donuts that rival any donut shop. Remember, practice makes perfect, and even if your first batch isn’t picture-perfect, they’ll still be delicious!